It's almost Halloween.
Let me repeat: it's almost Halloween.
And there are Big Doings in the works this year.
This is going to be the first of a series of posts, because I've been working on my costume in fits and spurts, but have been trying to document as best I can. So I have many, many photos to share with you. And there will be more. Oh yes, there will be more.
So. Without further ado ...
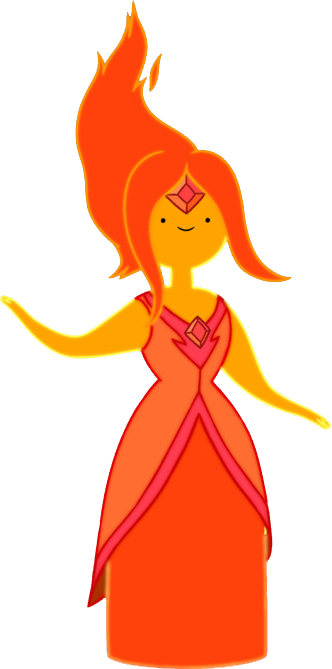
Allow me to introduce you to Flame Princess, my muse of the moment. Yes, I am going to be Flame Princess for Halloween. Yes, I have amazing friends who are playing along and who will be other characters from Adventure Time at this party. (BeardBoy -- whose appearance in my life is in no small part responsible for my lack of posting, in that I've been too happy and full of mojo to have to post about it -- is going to be Finn, his roommate's girlfriend will be Jake, and his roommate -- big mustachioed man that he is -- has gamely agreed to be Lady Rainicorn. And wonderful guests will be coming up from NYC to be Ice King and Gunter, too. My life is magical.)
So! Step one, obviously, is the wig.
I procured this beauty for less than $20 (including shipping) from Amazon. It's thin, but long enough that I think that won't matter too much -- I think I'll have plenty of hair.
Next up: Michael's. I went a little wild. It's hard not to, amirite? Ribbons and glittery leafy things from the floral department and gold duct tape and wire, oh my!
Best finds: styrofoam wig head (awww yiss), styrofoam cylinder for the core of the wig. Awesomesauce.
So. It begins.
I hollowed out the bottom a little with a bone scraper to make it fit the curve of my head a little better.
PERFECTO. Moving on.
So obviously, her hair doesn't stick straight up like that. So: MATH! I cut the styrofoam at (very gentle!) angles and then twisted the pieces for a curvier base to attach the hair and things to.
I did glue the pieces in place, but I left them for 12 hours and the glue never dried, so next time I'll definitely use hot glue instead. Still, no big deal, because the next step was to wrap the whole thing in duct tape!
Awwwwwww yeah.
I wasn't too too careful with smoothness here, since I'm going to be pinning/gluing so much hair and extra crap over top of it, but I like having the gold under there juuuuuuust in case the underpinnings end up showing through.
The next step I don't have great photos of, sorry -- but I took some red craft wire (I believe it was 20g but I'll have to check -- sorry!) and formed a circle a little bigger in diameter than the base of my styrofoam horn, then wrapped back around the circle to stabilize it, then made some sticky-uppy flamey-wamey protrudey bits to attach ribbon and other paraphernalia to.
If that staggeringly articulate description isn't enough for you, here's what I'm talking about:
I threaded some ribbon through the bottom for kicks.
In action!
So you see the idea: something to wrap the french wire ribbons around, something to weave the hair around, a jumping-off point for all the crazy to follow, because who wants just a narrow cone when Flame Princess's hair allows for so much expansive crazy?
So that's where I am for the moment. Updates will follow next week: Saturday will be the gluing and the ribboning and the festooning with all my stuff!
Til next time :)
Update: I can now link you to part two, with the full blow-by-blow of the rest of the wig-mod process!


No comments:
Post a Comment